Friday, June 19, 2015

Summer Giveaway Time!


Happy summer!
 Sunday June 21 is the official start of summer, and to kick it off I'm hosting a giveaway! All you need to do is leave a comment with your email address and what your favorite thing about summer is. The winner will be announced the morning of the 22nd. The prize? This adorable summer fun robot! He is ready to start his summer off right. Shades, and a tasty watermelon slice! Good luck and happy summer!


~Merry


Tuesday, June 16, 2015

Maternity wears DIY

 I don't know about any of you, but I find it incredibly hard to find cute, affordable maternity clothes! Everything is either a choice of gray, black or purple or its straight from 1990. So, I've decided if I'm going to wear something that fits my style and pocket book I'm just going to have to make it myself! Which is really my favorite route to take anyway.
  So, I'm a bit nervous about posting pictures of myself, I'm more comfortable behind the camera than in front but I wanted to show off some of my maternity clothes that I've made, so here it goes, outfit number one: (I apologize if you can see the discomfort in my face!)


Kimonos are one of my favorite summer staples! I have about a bazillion plain tank tops and tshirts and these are the perfect way to dress those up. They are light and flowy, and look good with shorts or skinny jeans. This one I made myself with some fabric I purchased for about $6, but I've also made them from a scarf, which took about half an hour to put together. All you do is fold the scarf in half, sew an 'L' shape on each side for the sleeves, cut up the center, hem, and presto! You have a kimono! Try it.


The shorts are not maternity but they have stretchy waist and are SOOO comfy! I bought them a few years ago from Etsy.


My shoes were about $10 at Target a few years back and I hand painted the design on them, I just used acrylic craft paint and they have looked perfect since! I love, love, love Targets canvas flats! They are cheap enough I don't mind buying a new pair every few years and they are perfect for personalizing.

 So there you have it. I hope you enjoyed my not so fashionable fashion tips! More to follow in the next few months!

 ~Merry

Saturday, June 6, 2015

Weekend DIY: Bird nest necklace

Hey there!
   I'm kind of behind on my posting so I thought I'd do a quick little DIY. This one is super easy and fast enough to whip up in an hour or so. I know there are a ba-zillion of these nest necklaces out there but they're so cute and easy! So here you go!

You will need:
Pliers
Wire cutters
Thin gauge wire in any color
Three round beads
Necklace chain


Step One:  Without cutting the wire, string on your three beads, leaving a tail about an inch or two long. Twist the wire so that your beads bunch together forming a triangle.


Step Two: Now bend both the wires toward the back of the beads and start coiling around the beads. It can be as tight or loose as you want just depending on the look you're going for.


Step Three: Okay, now for the fun part! Cut off the wire leaving a good long tail, about 6 inches or more, start weaving the tail in and out and all around the coils. A random pattern is usually the best option. Keep going until the nest is as full as you want. Don't forget to do some in the back under the beads too.


Step Four: Keep it up! Once you are happy with how your nest looks make a little loop with the wire tail and secure into the back behind the beads. This will be for stringing the necklace. Bend up the edges to give it a bowl shape and string on your chain.


                               And you're done! Easy right?! Now go show off your new bling!

                                                                    
                                                                     Thanks for reading!

                                                                             ~Merry

Tuesday, May 26, 2015

Garden Life

Its that time of year when the weather is perfect, everything is green and blooming and you can't help but be outside! More and more I find I'm turning into my parents, I always hated gardening when I lived at home and now I'm excited, giddy even, to be outside feeling the dirt in my hands and cultivated those tender little plants. My garden is pretty tiny, I only have room for a few things but its my small oasis. Here's how its looking so far.

                                                Strawberries! Can hardly wait for these guys!

            Three rows of lettuce turned out to be way more than I could ever possibly use! But oh, so tasty!

                              The onions were here when we moved in and always look so pretty!

                                  Turns out I have a peach tree in my back yard. Who knew!?

This is not actually in my garden but I just love all the mushroom growing here. I feel like there should be tiny little gnomes living in there!
   Well, that's my garden for now, I'm sure you'll be seeing more of it in the future. Thanks for stopping by!

                                                                              ~Merry

Thursday, May 21, 2015

What I love about Etsy

Hello!
   Its that random time again for a round up of some of my recent Etsy favorites. I hope you enjoy!

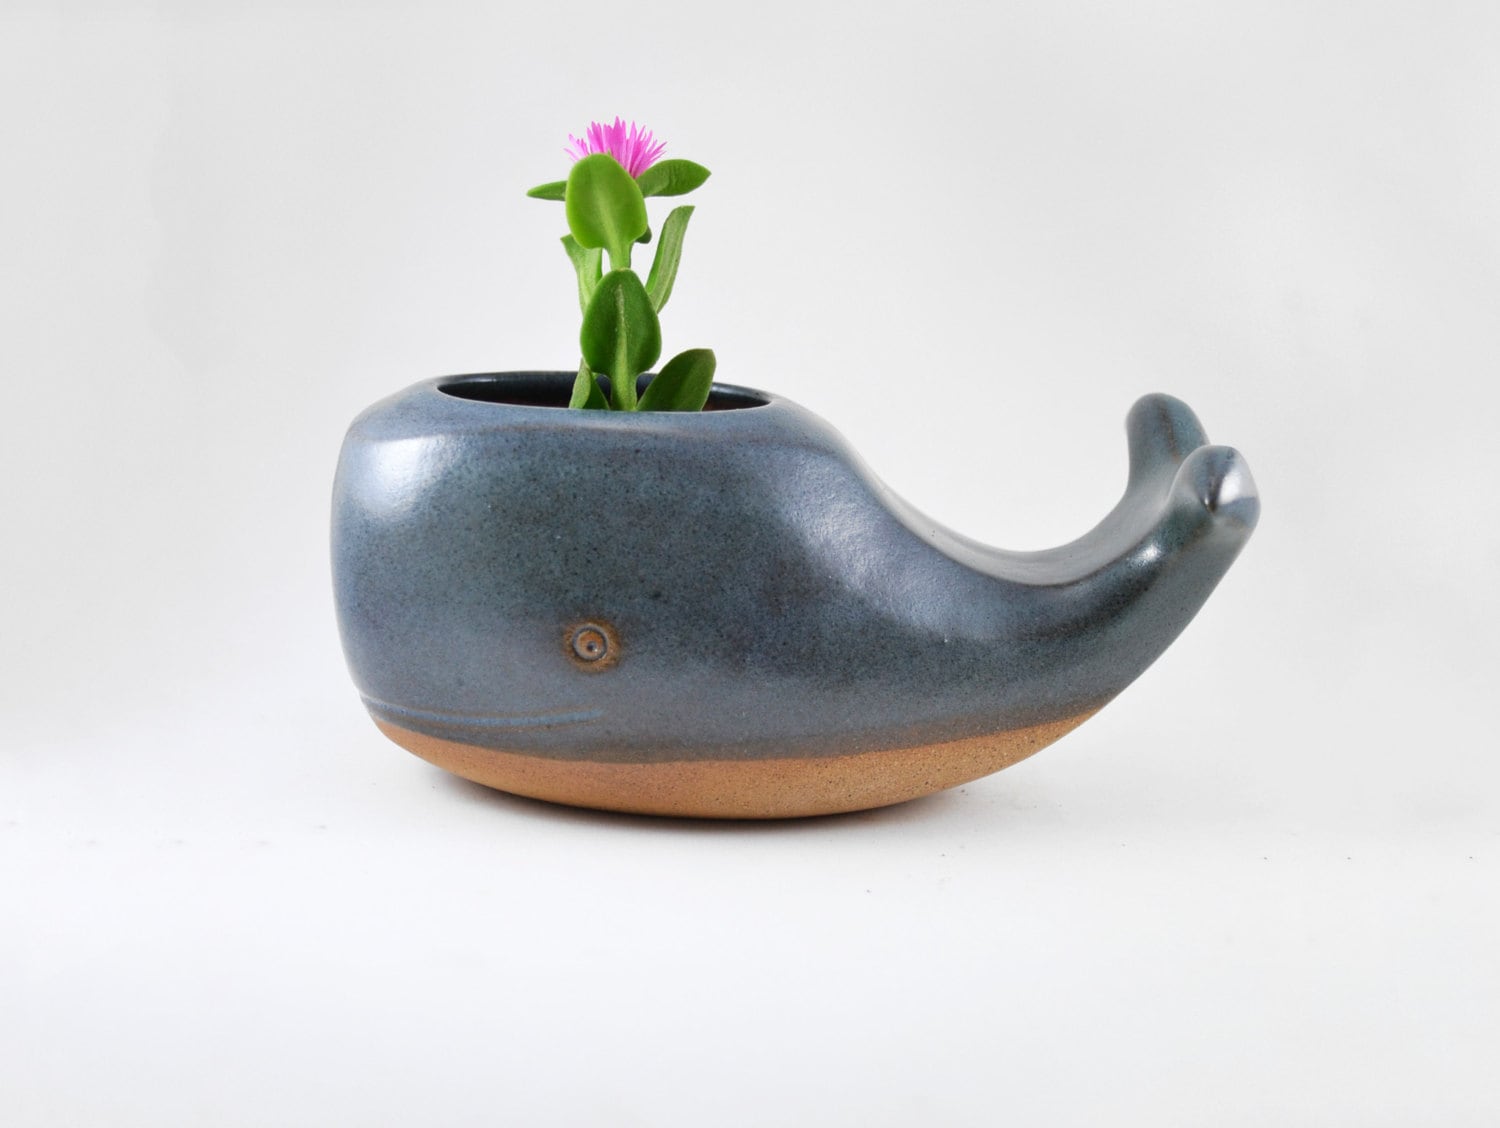
Of course I have this thing for planters so I have to include at least one. This one from Cumbucachic is so stinkin' cute I can hardly stand it!

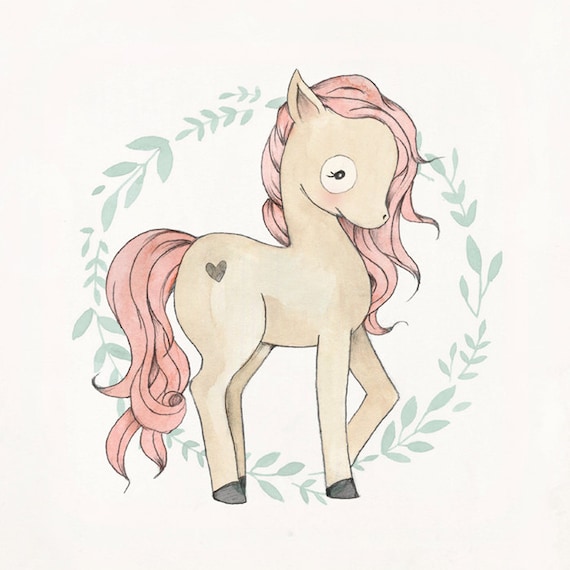
Kelli Murray's prints are incredible! I'm pretty sure I need one of each of them! But first this pony.

And because who wouldn't want some felt icecream! From Made by Claire Louise

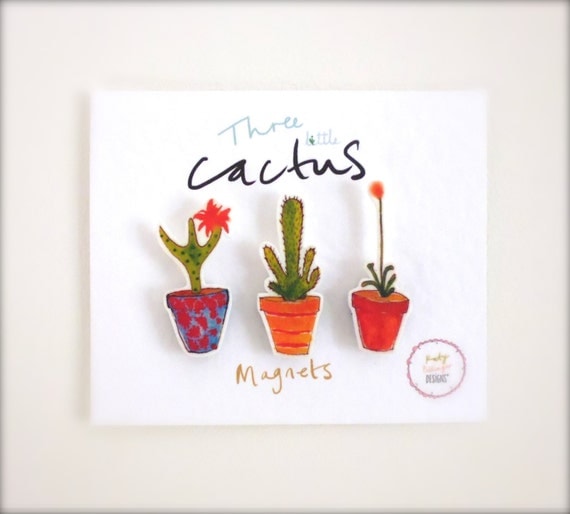
Cactus magnets from Katy Pillinger Designs, yes please!

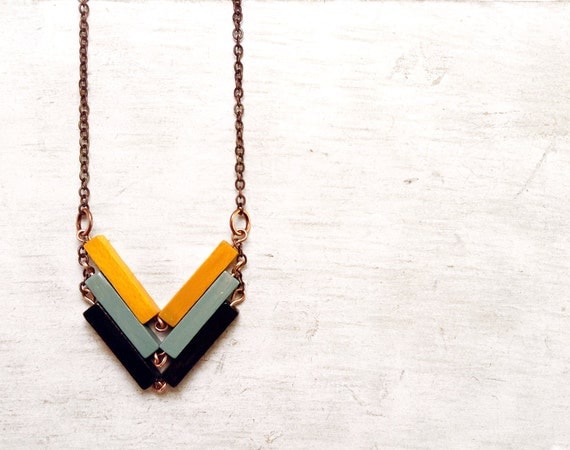
A simple geometric necklace to top it off. By Valentino Landia.

Thanks for reading!
   ~Merry

Saturday, May 2, 2015

DIY Cloth Napkins


   As a stay at home mom living on one income I'm always looking for ways to be thrifty without being stingy. I want to be creative and fun, not that person that recycles used underwear into cleaning rags ( if that's you, don't be offended its just not my cup of tea ).
  One of my favorite things to do is to make my own napkins. I know paper napkins really aren't that much, but never the less, cloth ones are reusable and SO much prettier! So, here is how I made my own for $1.50 each.
First of all you'll need to gather a variety of fat quarters from your local fabric store, I got mine from Jo-ann Fabrics.  I make mine double sided for durability and variety, so you'll want to buy two fat quarters per napkin.
 Step one: You'll need to make sure each fat quarter is perfectly square, so lay them out flat, measure all four sides to the same length and trim
.
Step two: Once you have all your fabrics trimmed to the same size, decide which two you want to go together, you can either do contrasting colors or keep them the same. Now, with right sides together pin the two pieces together and stitch all the way around about 1/4 inch away from the edge. Be sure to leave about a two inch space for turning.


Step three: Once you've finished sewing, trim the points off the corners and turn right side out. Next you'll want to iron all your seams flat so that the napkins lay nicely.


Step four: Almost done! All that's left now is to hand stitch the opening closed and step back to admire your work! Aren't you proud? Now take a little picnic or host a brunch and show off your new napkins!


Thursday, April 23, 2015

Spring is here and so am I!


Hello friends!
 I feel like I should put a disclaimer on my blog letting everyone know I'm the worst and laziest blogger in the blogosphere! Nobody ever fairly warns new moms how much of their time kids take up, its incredible! getting things done while having a baby clinging to your legs should be an Olympic sport! Anyway,  here's a snippet of what my winter has been like:

                                                          Christmas with this cutie.


First snow.


Renewed our vows! Yay for us!


Spring has come at last!


Doing lots of crafting


Bunny-Bots!